
Photos for replies: your price list and work photos in a chat in a few clicks
KI-Assistent und WissensdatenbankAktualisiert am 19. Oktober 2026Video 1:01In allen Tarifen außer Hub
Diese Anleitung ist vorerst auf Englisch.
The Images tab of the knowledge base holds the pictures you need when talking to clients: your price list, examples of your work, the salon itself, directions. Upload them once, and anyone on your team can send the right photo straight from the chat instead of hunting for the file on a computer or phone. The assistant sees these photos too and can attach them to its replies.
Available on every plan except Hub.
Where to find it
Open Knowledge in the left menu and go to the Images tab. Folders are at the top, the photo gallery below.
Folders here are the same as for your articles: one system for the whole knowledge base. The number on a folder shows how many photos it holds. All images shows the whole gallery.
How to upload photos
- Open the folder you want the photos in (optional).
- Click Upload images.
- Drop the files into the window, or click it and pick them. You can add several at once.
- In Display name, type a clear name, for example “Price list”. Every photo in this upload gets it; you can rename each one later.
- Check Folder: the folder you had open is already set. You can also create a new one here.
- Click Upload.
| What you can upload | Limit |
|---|---|
| JPEG, PNG, WebP, GIF | up to 15 MB per file |
After the upload, the system works out what is in the photo by itself: its category and colours. The search above the gallery uses them.
How to edit a photo
Click a photo in the gallery. In Edit image you can:
- change the Title and Description;
- move the photo to another Folder;
- link the photo to Services from your catalog: the assistant sends it first when a client asks about one of those services;
- untick Active (visible to agent): the assistant stops using the photo, and the photo disappears from the gallery and from the chat’s photo window;
- Delete the photo.
Save keeps your changes.
To move or delete several photos at once, click Select above the gallery.
How to send a photo from a chat
- Open the client’s chat in Chats.
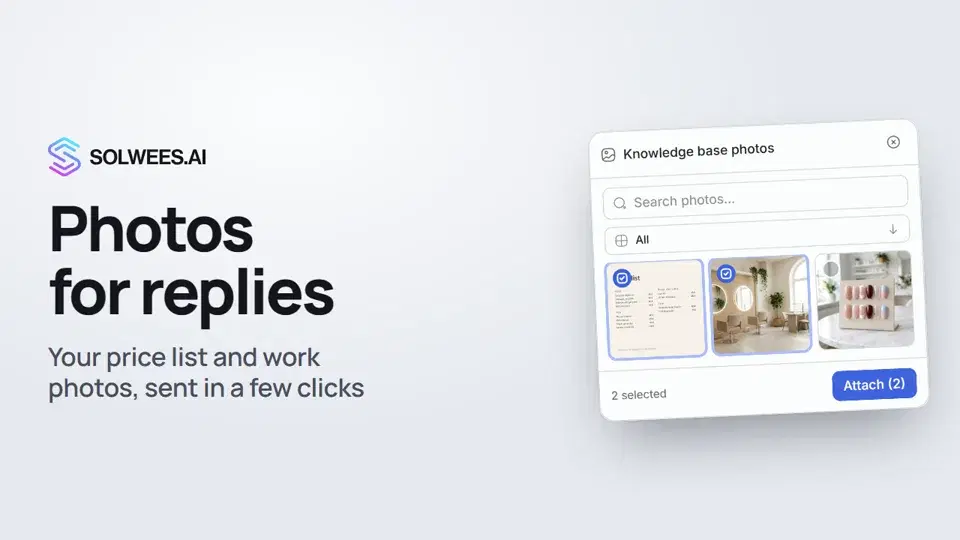
- In the message box, click the picture button Send photo from knowledge base.
- In Knowledge base photos, find the photos with the search or pick a folder. The window shows up to 24 photos; use the search to find the rest.
- Tick the photos, up to five at a time, and click Attach.
- The photos land in your message. Add some text if you like, and send it.
How the assistant uses the photos
In chats, the assistant looks for matching photos in this tab by itself and attaches them when a client asks about a service. Photos linked to that service go first. The assistant only uses active photos. Photos are not sent during calls.
Tips
- Keep your price list as a separate picture and update it together with your prices: an old price list in a chat confuses clients.
- Give photos short, clear names: “Price list”, “Manicure examples”, “How to find us”. Your team and the search will find them faster.
- Sort photos into folders the same way as your articles: “Treatments and prices”, “About the salon”. In the chat’s photo window you can open the folder you need straight away.
- Link your work examples to services, so the assistant shows clients exactly those.
FAQ
Will clients see a photo as soon as I upload it?
No. A photo reaches a client only when someone on your team sends it from a chat, or when the assistant attaches it to a reply.
Can I send more than five photos?
One message takes up to five files. If you need more, send them in two goes.
Why does a photo card say “No product”?
It shows whether the photo is linked to a product. Sending photos from a chat and the assistant’s replies about services don’t need it.
How do I keep a photo out of the assistant’s replies?
Open the photo and untick Active (visible to agent), or click Delete. Either way the photo leaves the gallery, so if you may need it again, save a copy first.
Transkript des Videos
Alles, was der Sprecher sagt. Ein Zeitstempel spielt das Video ab dieser Stelle ab.
What photos for replies are and where to find them
Photos for replies: your price list, your work, the salon itself. Upload them once and send them to clients right from the chat. Open Knowledge and the Images tab. Folders here are the same as for your articles.
Uploading photos, and how the assistant uses them
Open a folder and click Upload images. Each picture can be up to 15 MB. The folder is already set: give the photo a name and click Upload. The assistant sees these photos too, and can attach them itself when a client asks about a service.
Sending photos from a chat
To send a photo yourself, click the knowledge base photo button in the chat. Tick the photos you need and click Attach. They land in your message, ready to send. That way your price list goes out in a few clicks, without hunting for the file. Done. Next up: connecting WhatsApp through Meta.
Hat das Ihre Frage beantwortet?
Mehr zu diesem Thema
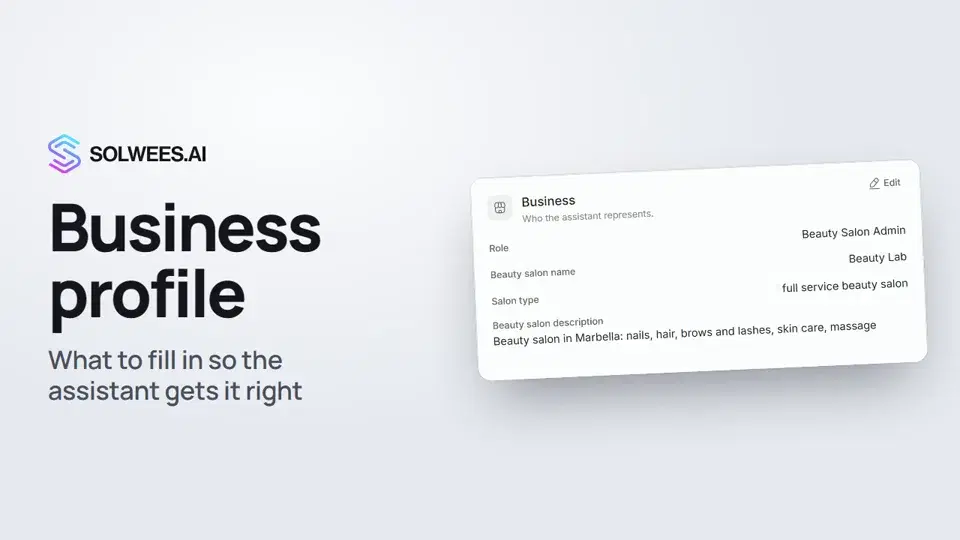 Business profile: what the assistant knows about your companyHow to fill in your business profile in Solwees so the AI receptionist answers clients accurately: name, language, contacts, address, working hours and the assistant's persona.1:35
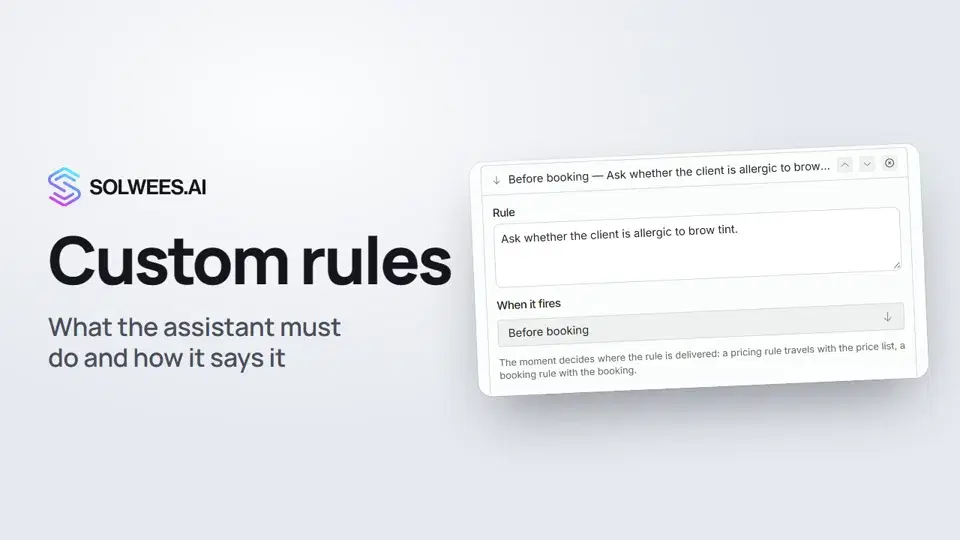 Custom rules and wordingHow to give the Solwees AI receptionist mandatory rules and wording: rules by moment, general rules and ready-made speaking styles for the key moments of a conversation.1:14
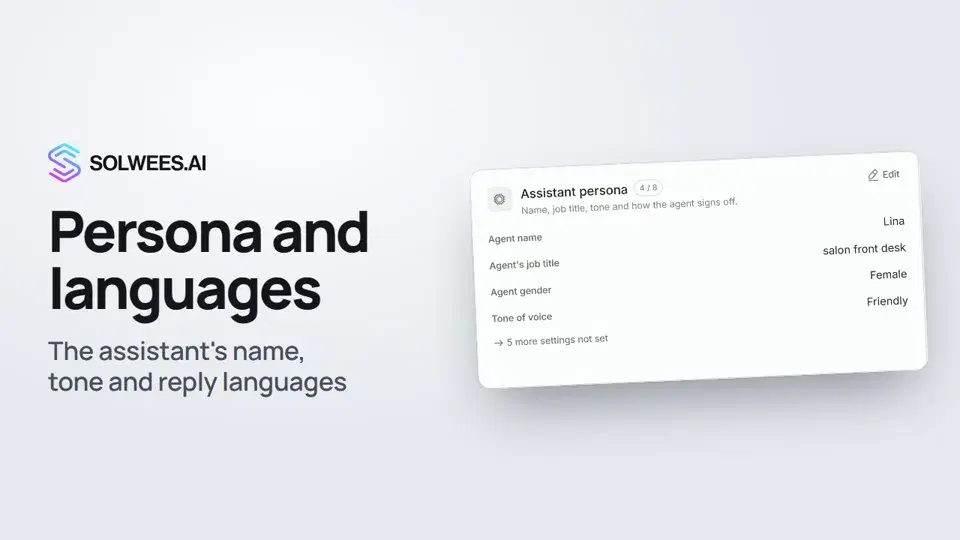 Persona and languages: how the assistant introduces itself and which languages it speaksHow to set the greeting language, allowed languages, name, job title, gender, tone of voice and closing lines of your Solwees AI receptionist in the Language and Assistant persona cards.1:22
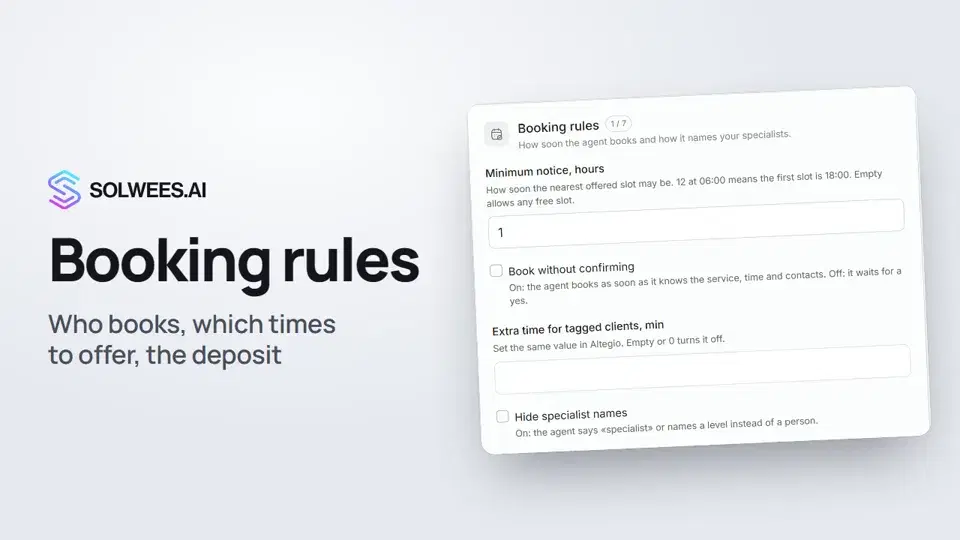 Booking rules: how the assistant books your clientsHow to set up booking rules for the Solwees AI receptionist: who makes the appointment, which windows it offers, what it says about a deposit, 4 and 6 hands services and add-on offers.1:38
Noch Fragen?
Fragen Sie Sola im Dashboard
Der Assistent-Button in der Ecke jeder Dashboard-Seite kennt jede Einstellung und zeigt, wo sie ist.
Dashboard öffnenAn den Support schreiben
Unter support@solwees.ai antwortet ein Mensch aus unserem Team.
support@solwees.ai