
Website chat: how to set it up and install it
CanauxMis à jour le 18 octobre 2026Vidéo 1:52
Ce guide est en anglais pour l’instant.
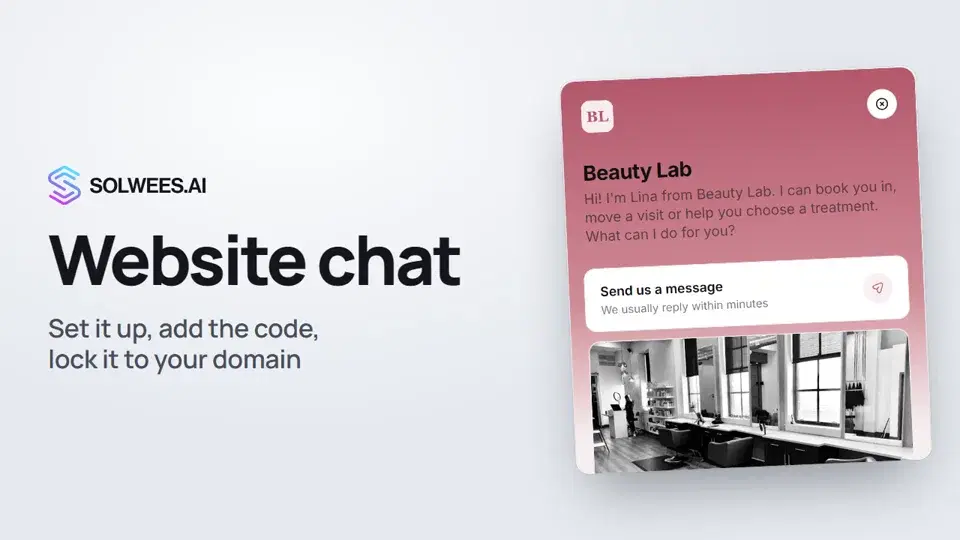
Website chat is a chat window in the corner of your site. Visitors write to it and the assistant replies right away: it answers questions, quotes prices and books appointments. Every conversation lands in Chats, next to WhatsApp, Instagram, Telegram and your other channels.
Where to find it
Open Settings → Channels → Messenger. On the Web tab the settings are on the left and a live preview is on the right: it changes right away, even before you save. The Install tab has the code for your site.
What you can set
| Block | What to set | What visitors see |
|---|---|---|
| Languages | Which languages the chat speaks and the default one | The chat in their browser’s language if it is ticked, otherwise in the default language. With more than one language the chat has a language switcher |
| Widget Sections | Turn Home and News on or off. Messages is always on | Only the sections you turned on |
| Open the chat right away | Skip the home screen | The conversation straight away |
| Ask for the visitor’s contact | When to ask for a phone or email: don’t ask, before the first message or right after it. What to ask for and whether it is required | A short phone or email form |
| Welcome Message | The chat’s first line, one for each language | The greeting on the home screen and the first message of the conversation |
| Business Info | Company name and response time text | Both on the chat’s home screen |
| Announcements | News and offers: title, description, link, image | The News section |
| Appearance | A ready-made style, or your own theme, background, colors and logo | The chat in your brand colors |
| Chat Button | Right or left, spacing, a short message next to the button | The button in the corner of your site and the message before they open the chat |
Ready-made styles: Restaurants, Beauty Salon, Customer Support. They come with their own colors, so Color Theme, Background and Colors show only with the Default style.
On phones the chat button always sits in the bottom right corner.
Visitor contact
- In Ask for the visitor’s contact, choose When to ask: before the first message or right after it.
- Choose What to ask for: phone or email (either one), phone only, email only, or phone and email.
- Turn on Required if visitors can’t continue without leaving a contact. When it is off, visitors can skip the form.
The contact is saved to the client’s card. A phone number can be typed in local format: the country code comes from your workspace time zone. Once a visitor has left a contact, the chat won’t ask again in that browser. If they skip the form, the chat asks again on their next visit.
How to save
Click Save in the top right. The chat on your site picks up the new settings by itself, no need to change the code. If you leave the page without saving, the dashboard warns you about unsaved changes.
How to install it on your site
- Open the Install tab.
- In Select AI Agent, choose the agent who will answer in the chat.
- Click Copy code.
- Paste the code into your site’s HTML just before the closing
</body>tag. If a developer or an agency runs your site, simply send them the code.
The code only holds your workspace and agent IDs, no secret keys. You can put the same code on several sites.
Tips
- Tick every language your clients write in and add a welcome message for each one.
- Write the welcome message the way you’d greet a client at the front desk: who you are and how you can help.
- If calling clients back matters, ask for the phone right after the first message: visitors don’t leave before asking their question.
- Check the assistant’s answers in the agent’s test chat: the preview shows the design only.
To make the chat work only on your site
- Open Settings → Security, the Messenger tab.
- In Allowed domains, type your site’s address, for example
https://beautylab.example, press Enter and click Save domains. - Turn on the Web messenger switch.
While the switch is off, the list has no effect and the chat works on any site. You can turn it on only when the list has at least one address. An address with www and without it are different: add both. To allow all subdomains, add https://*.example.com (add example.com itself separately).
FAQ
Do I need to reinstall the code after changing settings?
No. You add the code once; the look, the welcome message and everything else come from the dashboard each time the page opens.
The chat doesn’t show up on my site. What should I check?
That the code sits before </body> on every page you need. If you turned on allowed domains, that your site’s address is on the list, with and without www.
Where do the messages go?
To Chats, in the Messenger view, together with your other channels. You can reply there yourself too.
Why doesn’t the preview open a conversation?
The preview shows the chat’s look. To check the answers, write in the test chat on the agent page or open your site with the code installed.
Transcription de la vidéo
Tout ce que dit le narrateur. Un repère lance la vidéo à ce moment.
What website chat is and where to find it
Website chat is a chat window in the corner of your site. Visitors write to it, and the assistant replies right away. Open Settings, go to Channels and choose Messenger. Settings are on the left, a live preview on the right.
Languages and visitor contact
Tick the chat languages. Visitors see the chat in their browser's language, or in the default one if it's not on the list. Next, choose when to ask visitors for a phone or email: before the first message or right after it. The contact is saved to the client's card.
Welcome message and company name
In Welcome Message, write the chat's first line, one for each language. The preview shows what visitors will see. Below are your company name and response time. Visitors see them on the chat's home screen.
Appearance and chat button
Under Appearance, pick a ready-made style or your own colors, background and logo. The preview changes right away, even before you save. Under Chat Button, set which side the button sits on and the short message shown next to it.
Saving and the install code
When you're done, click Save in the top right. The chat on your site updates by itself, no need to change the code. Then open the Install tab, choose the agent who will answer in the chat, and copy the code. Paste the code into your site just before the closing </body> tag. If a developer runs your site, just send it to them.
Allowed domains and where messages arrive
Tip: to make the chat work only on your site, open Security and go to the Messenger tab. Add your site's address, save it and turn on Web messenger. Done. Messages from your website chat arrive in Chats, together with all your other channels.
Cet article a-t-il répondu à votre question ?
Plus sur ce thème
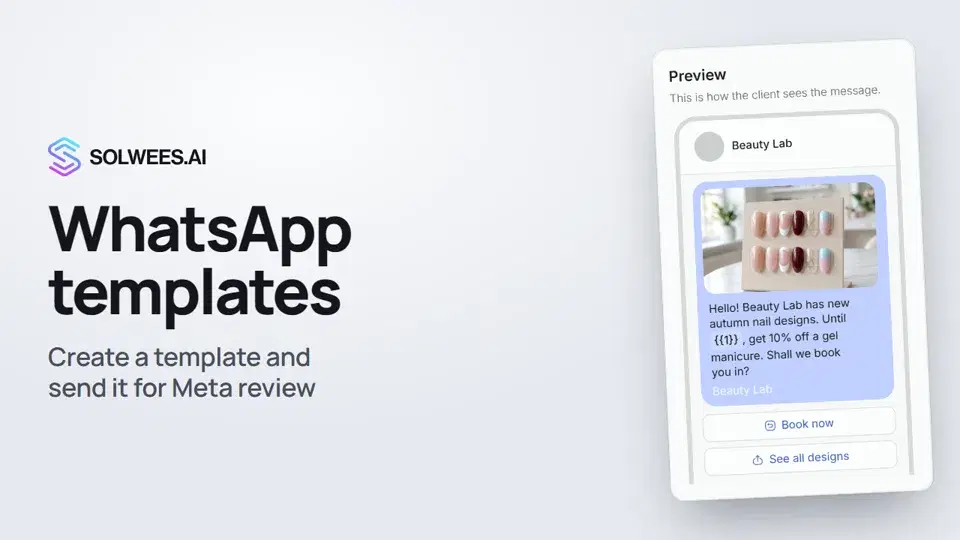 WhatsApp templates: messages approved by MetaHow to create a WhatsApp template in Solwees and send it for Meta review: category, language, image, variables in the text and buttons. You need a template to message a client who hasn't written to you for more than 24 hours.1:30
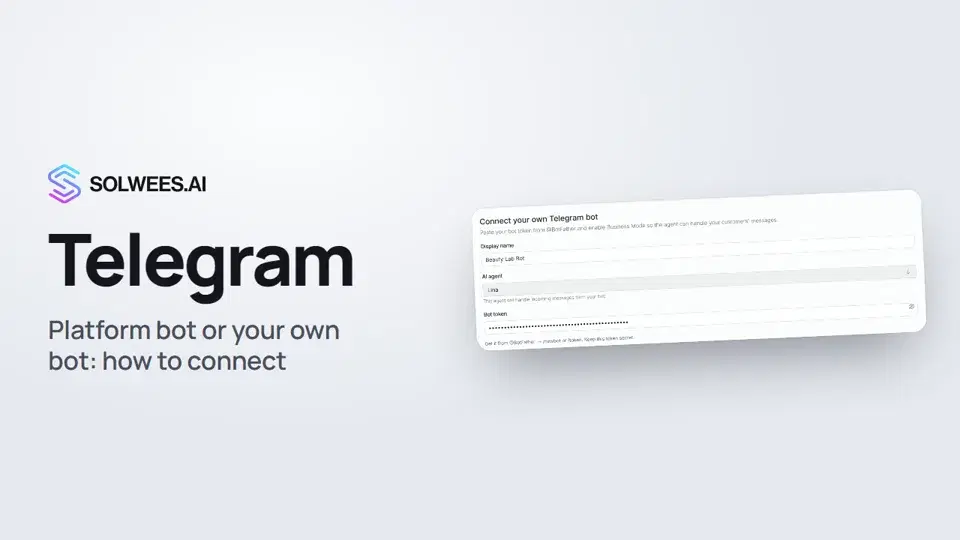 Telegram: how to connect the assistantHow to connect Telegram to Solwees so the AI assistant replies to your clients: through the platform bot and Telegram Business, or through your own bot with a token from BotFather.1:31
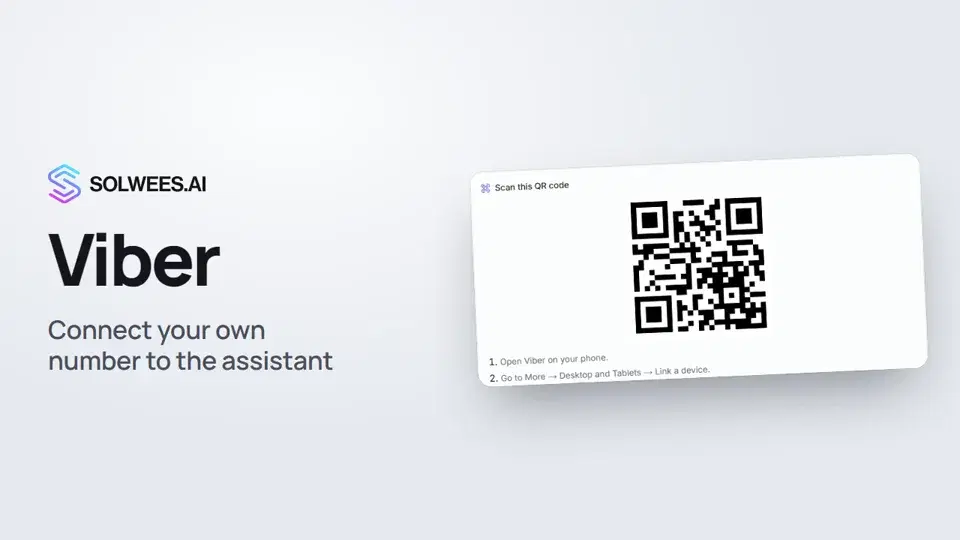 Viber: how to connect your own number to the assistantHow to connect Viber to Solwees so the AI assistant replies to your clients: paying for the channel, display name and AI agent, Connect number and linking with a QR code in Viber.1:11
 Phone: a number for the assistantHow to buy a phone number for your AI receptionist in Solwees: applicant verification and documents, choosing a number, assigning an agent, call recording and transcription.1:56
Besoin d’aide ?
Demandez à Sola dans votre tableau de bord
Le bouton de l’assistant, dans le coin de chaque page du tableau de bord, connaît chaque réglage et vous montre où il se trouve.
Ouvrir le tableau de bord